How to Prevent Background Noise While Recording
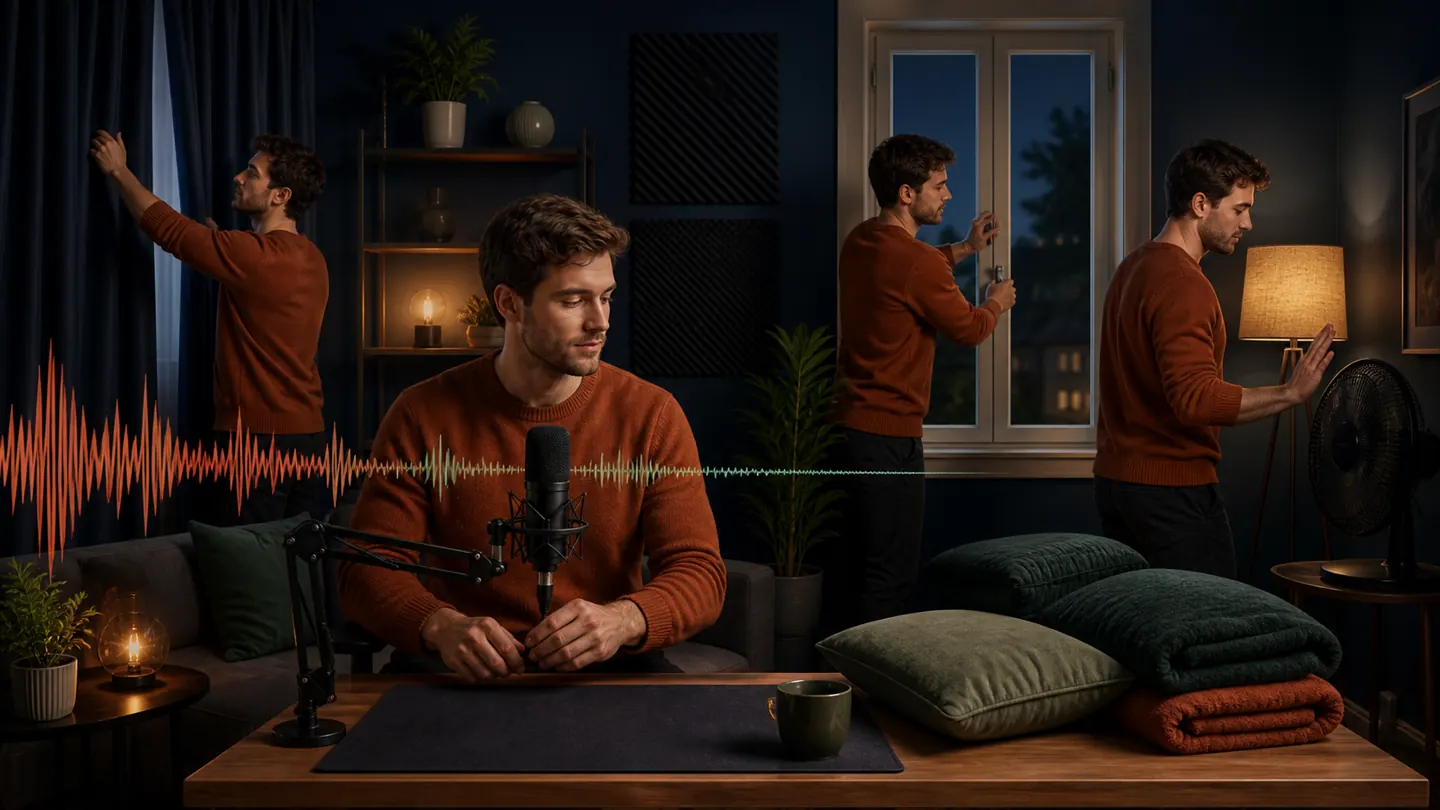
The cleanest noise removal happens before you press Record. Every improvement to the room, microphone distance, and input level gives post-processing a stronger voice and less unwanted sound to separate.
You do not need a professional studio. A deliberate five-minute setup in an ordinary room can reduce fan noise, echo, traffic, handling bumps, and computer sound.
Control the noise sources
Pause fans and appliances when safe, close windows and doors, silence phones, and wait for predictable traffic or construction gaps. Move computers away from the microphone and close applications that make their fans run harder.
Listen to the room for thirty seconds. The brain quickly ignores steady sound, but the microphone does not. Headphones reveal sources you stopped noticing.
Choose a less reflective space
Curtains, rugs, bedding, sofas, and bookshelves help scatter or absorb reflections. Empty rooms with tile, glass, and bare walls make voices sound distant even when the background is quiet.
Place temporary soft material outside the camera frame rather than covering the microphone. Never block computer vents or create a fire or overheating risk.
Improve the voice-to-noise ratio
Move the microphone closer to the speaker and lower the gain. Aim a directional microphone so its least sensitive side faces the dominant noise. Use a shock mount or separate stand to reduce desk vibration.
Maintain the same speaking distance. A consistent source is easier to edit and sounds more professional across multiple takes.
- Move closer to the microphone
- Lower unnecessary input gain
- Aim away from the noise
- Isolate the stand from vibration
Record and inspect a test
Capture ten seconds of normal speech, a quiet pause, and the loudest expected delivery. Replay it with headphones and check for clipping, hum, echo, and mouth noise.
A test also confirms the correct input device. Many failed recordings come from a laptop microphone being selected while the intended USB mic sits unused.
Keep a pre-recording checklist
Use the same short checklist every time: room, devices, microphone, gain, headphones, storage, and backup. When a recording still contains moderate noise, clean the original file and compare both versions before publishing.
Rank fixes by impact
Start with changes that improve the direct voice: closer microphone placement, correct input selection, and sensible gain. Next reduce the loudest source, then control reflections. Buying accessories before solving those basics often adds complexity without improving the recording.
Keep the test file and write down what changed. If moving the microphone reduced noise more than closing a curtain, you now know where to spend setup time. This evidence-based approach builds a reliable room configuration and prevents random adjustments before every session.
- First: direct voice and input choice
- Second: dominant noise source
- Third: room reflections
- Fourth: accessories and fine tuning
Frequently asked questions
What is the fastest way to reduce room noise?
Move closer to the microphone, lower gain, pause the loudest safe-to-stop source, and record in a softer room.
Do acoustic foam panels remove outside noise?
They mainly reduce reflections inside the room. Closing gaps and increasing distance from outside noise are different tasks.
Why should I record a test?
It catches the wrong input, clipping, hum, echo, and other problems before the full session.
Clean your recording
Upload audio or video, compare the original and enhanced versions, and download both.